Resize Settings
100%
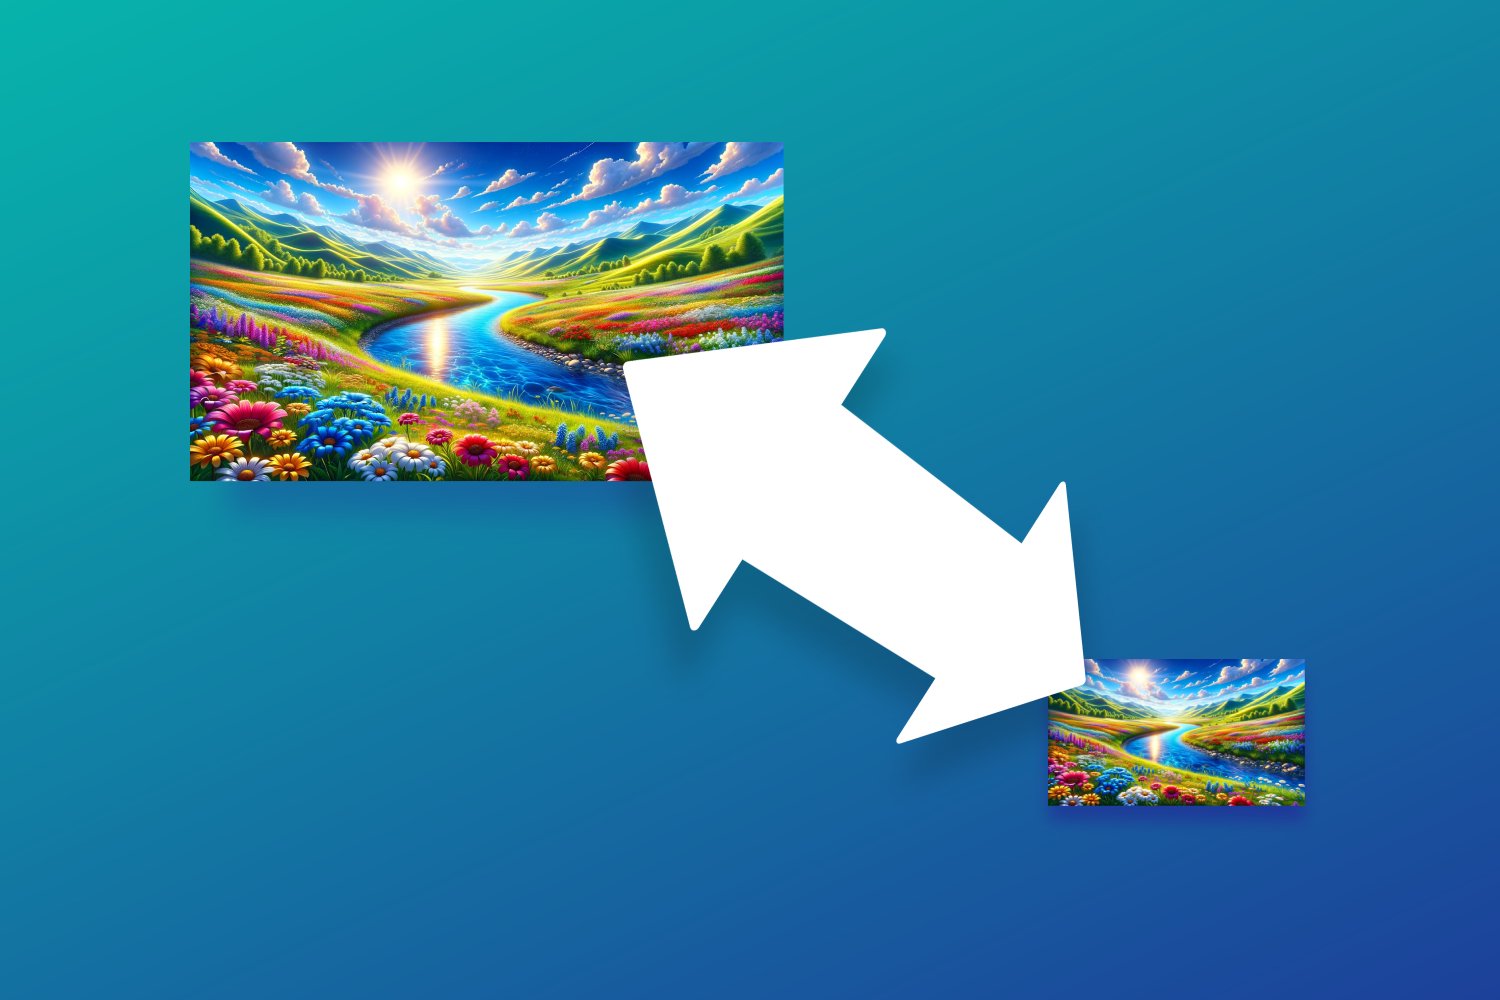
At its core, our tool is designed to let you resize and compress your images so that they hit the exact file size you need. Whether you need to shrink images to speed up your website, meet specific upload requirements, or simply avoid wasting bandwidth, this tool gives you the power to do it in two main ways:
There’s also an option to lock the aspect ratio (but only if you’re working with one image—multiple images will force you to live without that luxury). And if you’re looking to nail down a target file size, you can set that too (in KB or MB). Once you’ve got your settings just right, hit the export button and get your images zipped up and ready for action.
When you first load the tool, you’re greeted with a two-pane layout. On the left side is your control panel, where you can tweak everything from resize settings to export options. The right side shows your image previews and processing progress.
Click on the “Select Images” button to load your files. As soon as you do, you’ll see a preview grid fill up with your images. Each preview shows a rough “Calculating…” message until the tool figures out dimensions and an estimated file size. Don’t worry if it seems a bit clunky—the tool is working through each image in real time.
Here’s where you get to call the shots:
As you tweak your settings, the tool updates each image preview to show:
There’s a progress indicator with a spinner showing you how many images have been processed so far. It’s straightforward, unpretentious, and designed to keep you informed without any fancy distractions.
When you’re satisfied with the previews, hit the Export ➞ button. The tool then processes each image, applies your resize and compression settings, and bundles everything up into a ZIP file for download. No complicated steps—just the raw efficiency you need.
At GetMoreDoneFast, we’re all about the GMDFactor. What’s that, you ask? The GMDFactor (Get More Done Factor) is our in-house term for the sweet spot where speed, efficiency, and quality intersect. It’s the measure of how effortlessly you can optimize your images—and, by extension, your workflow. Cranking up your GMDFactor means you’re not just resizing images; you’re reclaiming time, boosting performance, and getting back to what truly matters.
Every time you use our tool to hit that perfect file size without sacrificing the essentials, you’re increasing your GMDFactor. It’s a mindset shift: instead of obsessing over pixel-perfect quality, you focus on getting things done fast and smart. And in today’s digital landscape, that’s a game changer.
Let’s cut to the chase. If you’ve been lurking on Reddit, you’ve seen the gripes and complaints about other image resizing tools. Here’s a rundown of the common pain points—and how our tool tackles them head-on:
By addressing these common complaints head-on, we’re not just building another tool—we’re building a solution that listens to your frustrations and fixes them.
There’s no magic bullet for image optimization. It’s a balancing act—a constant negotiation between visual fidelity and performance. The old-school mantra of “quality above all” has its place, but in the real world, speed and efficiency can win the day. With our tool, you get the best of both worlds: a straightforward way to resize and compress your images while boosting your GMDFactor and keeping your website zippy.
If you’ve been frustrated with tools that barely scratch the surface or come with a laundry list of issues (we’re looking at you, Reddit threads), it’s time to ditch the BS and embrace a tool that’s built for real challenges. Get more done fast, streamline your workflow, and keep your images—and your sanity—in check.
Happy resizing, and may your GMDFactor always be high!

"Productivity hacks, free tools, time-saving tips, good deals and more sent directly to your inbox." - Andrew Fisher
Thank you for subscribing!
Have a great day!
Tackling a specific challenge? Let's talk. I'll help turn your ideas into action, so you can get more done fast. Schedule a call now, or learn more here.
You simply switch to the “As Percentage” mode, slide the range bar to your desired scaling percentage, and watch the estimated file size and dimensions update in real time—no math headaches, just pure simplicity.
The aspect ratio lock is designed for single image edits only. When you upload multiple images, the tool disables it automatically to avoid conflicts, so it might seem like it’s “failing” when it’s actually doing what it needs to do.
Enter your desired file size (in KB or MB) into the export settings, and our tool uses smart, iterative compression techniques to meet that target while preserving as much quality as possible—it's all about finding your GMDFactor sweet spot.
Our GetMoreDoneFast image resizer does. You can toggle instantly between “By Dimensions” and “As Percentage” modes, letting you pick the method that best suits your project without any extra hassle.
Minor discrepancies can occur due to rounding errors and the intrinsic nature of scaling algorithms. The tool works hard to be as accurate as possible, but slight differences can happen, especially with batch processing.
Yes, by using adaptive compression algorithms. Our tool strikes a balance between hitting your target file size and maintaining quality, so you get a result that’s optimized for performance without looking like a low-res mess.
Just set 500 KB as your target size and choose “Original” in the output format dropdown. The tool then fine-tunes the compression to meet that file size while keeping the original format intact.
JPEG is more flexible with lossy compression, but our tool supports PNG and WebP too by using format-specific algorithms that adapt to each format’s unique compression style.
When you upload images, our tool automatically displays their original dimensions in the preview grid, so you can quickly assess what you’re working with before making any changes.
Our tool lets you apply both width and height constraints across multiple images in a single batch, ensuring consistency without the need for manual adjustments on each file.
The preview provides an immediate, approximate display based on your settings; the final processed image may have minor adjustments due to rounding or compression nuances.
We’ve designed it with a bold color and clear labeling, but you can also add subtle animations or tooltips to draw extra attention without cluttering the interface.
Keeping them separate, as we do, makes it easier for users to focus on one task at a time—first perfect your resize settings, then handle the export options for a clearer workflow.
Provide instant visual feedback and a simple tooltip that explains its single-image limitation. This way, users understand that locking only works when editing one image at a time.
A clean grid layout for image previews and minimal, clear progress indicators keep the interface uncluttered while still providing all the necessary batch controls.
Our tool shows an estimated file size right under each image preview as soon as you adjust any settings—giving you immediate feedback on how your changes impact file size.
Manual input can lead to rounding errors or mismatched aspect ratios. Our tool minimizes this by automatically recalculating dimensions when the aspect ratio is locked for single images.
Display real-time file size estimates near the image previews so that any adjustment in settings immediately reflects the expected size, boosting user confidence in the process.
A good approach is to auto-fill dimensions based on the first uploaded image, then allow users to adjust as needed. This gives a helpful starting point while still offering full flexibility.
Use clear, inline notifications right next to the affected input or image preview. This direct approach avoids overwhelming the user while keeping them informed.
Optimize the image processing code and leverage asynchronous loading. Our tool uses modern browser APIs to ensure previews render quickly even in batch mode.
Handling too many large images at once can strain browser resources. We recommend processing images in smaller batches if you frequently run into crashes.
Use efficient, browser-based compression libraries and consider resizing images slightly before upload. Our tool’s architecture is optimized for performance, but very large files can still cause temporary lag.
By analyzing the original dimensions and averaging them, the tool can offer a recommended setting that suits the overall batch. It’s a handy feature for users who want quick, consistent results.
Files with corrupted metadata or unsupported formats might be skipped to maintain overall processing integrity. Our tool flags these issues and moves on to avoid halting the entire batch.
Include a progress bar with a dynamic time estimate based on current processing speed. Our tool displays real-time updates so you always know how much longer the batch will take.
Isolate errors by providing small, individual error messages under the affected images. This way, one problematic file doesn’t derail the entire batch process.
Use individual progress indicators (like spinners or percentage counters) within each image’s preview frame to give users granular feedback on the process.
Apply the same compression and resize settings to all images by default. Our tool maintains consistency by using uniform algorithms unless specific tweaks are applied on a per-image basis.
Offer real-time progress updates, a cancel option, and clear communication about the process. This transparency helps manage user expectations and reduces frustration.
Use iterative, adaptive compression that gradually adjusts quality until the target file size is reached. Our tool minimizes artifacts by carefully balancing compression with detail preservation.
There’s a trade-off between file size and quality—pushing the limits can lead to noticeable degradation. Our tool aims to find a balance, but extreme targets might still compromise quality.
WebP typically offers better compression and often preserves quality more effectively than JPEG. Our tool lets you experiment with both to see which format works best for your specific needs.
A setting around 0.8 is a good starting point for web exports. Our tool defaults to this value for JPEG and WebP, striking a balance between file size and visual quality.
Leverage advanced interpolation methods that preserve detail. Our tool uses smart algorithms to retain as much detail as possible, even when reducing high-res images.
Resizing by percentage can introduce slight softness due to interpolation. Our tool uses optimized algorithms to minimize this effect, though a small drop in sharpness is sometimes inevitable.
Adjust both the target file size and quality settings until you hit that sweet spot—our tool lets you experiment until you find the optimal balance for your website’s performance and aesthetics.
Mobile devices benefit from smaller, faster-loading images. A quality setting around 0.75 to 0.8 generally works best, and our tool provides these defaults to make mobile optimization easy.
Different formats handle color profiles differently. While our tool works hard to maintain consistency, slight color shifts can occur due to inherent differences in how formats like JPEG, PNG, and WebP manage color data.
Our tool is designed to preserve essential metadata (like EXIF data and dimensions) during processing, ensuring that important information isn’t lost after resizing.
We include a simple dropdown in the export settings that lets you choose your preferred file format. Switching is instantaneous, giving you full control over your final output.
PNG uses lossless compression, which can naturally result in larger file sizes compared to JPEG’s lossy compression. Our tool lets you target a file size, but keep in mind that PNG files might still be bulkier by nature.
For most presentations, JPEG or WebP provide a good balance of quality and file size. Our tool allows you to try both and decide which one best meets your visual and performance needs.
Select WebP from the export format options and our tool will convert every image to WebP during the batch export—no extra steps needed.
Yes, advanced users appreciate the flexibility. Our tool lets you tweak quality settings for each format so you can optimize the output based on your specific requirements.
WebP and JPEG handle color profiles differently by design. Our tool does its best to maintain consistency, but inherent differences in the formats can lead to slight variations in color appearance.
Create and save preset configurations tailored to different needs, allowing users to quickly select a set of parameters optimized for social media, websites, or print. Our tool supports switching between these presets for a faster workflow.
Some formats have rigid compression limits. Our tool uses format-specific algorithms, so while it works well for JPEG, PNG, and WebP in most cases, there are inherent limitations based on the format’s structure.
Integrate preset recommendations that analyze your intended use and suggest the best format. Our tool can offer automated suggestions based on common practices for web and print, though user review is always encouraged.
Not necessarily—exporting at a lower resolution can speed up load times without noticeably affecting quality on the web. Our tool lets you choose a different resolution if that better suits your performance and design needs, helping you boost your GMDFactor while still looking sharp.